How to Spot and Fix Mortar Deterioration in Your Chimney Feb 16, 2026
Understanding how to maintain your chimney is crucial for the longevity and safety of your home. One common but often overlooked aspect of chimney maintenance is the deterioration of mortar. At Worcester County Chimney & Masonry, we believe that regular inspection and timely repair of your chimney's mortar can prevent larger problems down the line. This guide will walk you through the signs of mortar deterioration and how to address them effectively.
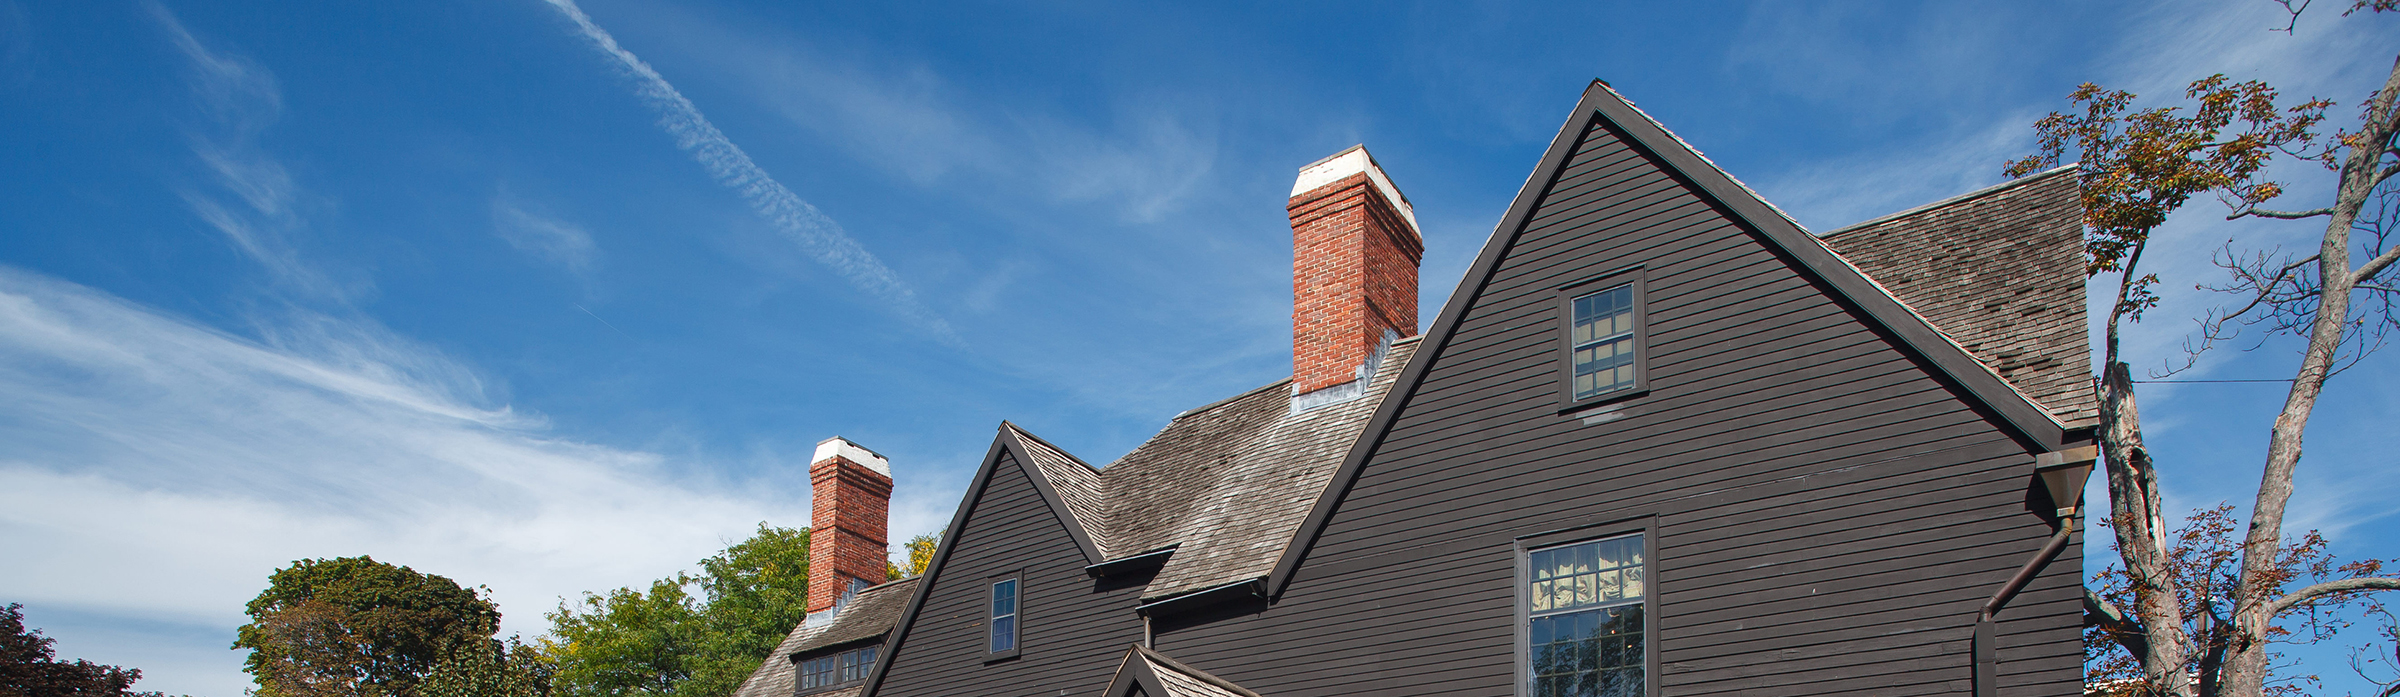
The mortar that binds the bricks of your chimney plays a vital role in maintaining the chimney's structural integrity. Over time, exposure to the elements can lead to mortar deterioration. This process, known as weathering, can result in gaps and cracks in your chimney that may allow harmful gases to seep into your home or water to infiltrate and cause further damage. Recognizing the signs of mortar deterioration early can save you time and money.
The first step in identifying mortar deterioration is a visual inspection. Look for cracks or crumbling mortar between the bricks. Pay special attention to areas where the chimney is more exposed to the elements, such as the top or corners. Another sign of mortar deterioration is efflorescence, which appears as a white, powdery substance on the surface of the chimney. This is caused by water penetration, which could indicate that the mortar is no longer effectively repelling moisture.
Once you've identified signs of deterioration, addressing the problem promptly can prevent further damage. One solution for repairing damaged mortar is a procedure known as repointing. This involves removing the old, deteriorating mortar and replacing it with fresh mortar. Here's a step-by-step guide to repointing your chimney:
1. Remove the damaged mortar: Use a chisel or a hammer to carefully remove the crumbling mortar. Aim for a depth of about half an inch to ensure the new mortar will bond effectively.
2. Clean the joints: Once the old mortar is removed, clean the joints thoroughly to remove dust and debris. A stiff brush or compressed air can help here.
3. Prepare the new mortar: Mix a new batch of mortar according to the manufacturer's instructions. Ensure the consistency is sufficient to adhere to the bricks.
4. Fill the joints: Using a pointing trowel, fill the joints with the new mortar. Start with horizontal joints, then move to vertical ones, pressing the mortar firmly into the spaces.
5. Smooth and shape: Once the joints are filled, use a jointing tool to smooth and shape the new mortar for a cohesive appearance with the existing masonry.
6. Clean up: After the mortar sets, typically within 30 minutes, clean excess mortar from the surface of the bricks with a damp sponge.
Though this process may seem straightforward, it can be labor-intensive and requires some skill to achieve long-lasting results. If you're unsure about undertaking these repairs yourself, or if the damage seems extensive, consulting a professional chimney repair service like Worcester County Chimney & Masonry is advisable. Our experienced team can assess the situation and perform the necessary repairs to ensure your chimney remains safe and functional.
In conclusion, regularly inspecting your chimney for mortar deterioration and completing timely repairs is essential in maintaining the structural integrity of your chimney. By understanding what to look for and how to act, you can extend the life of your chimney and protect your home. For more information or to schedule an inspection, contact Worcester County Chimney & Masonry today.
/filters:no_upscale()/filters:format(webp)/media/af23ed5b-ef23-4723-9a2b-7a173b26676a.jpeg)